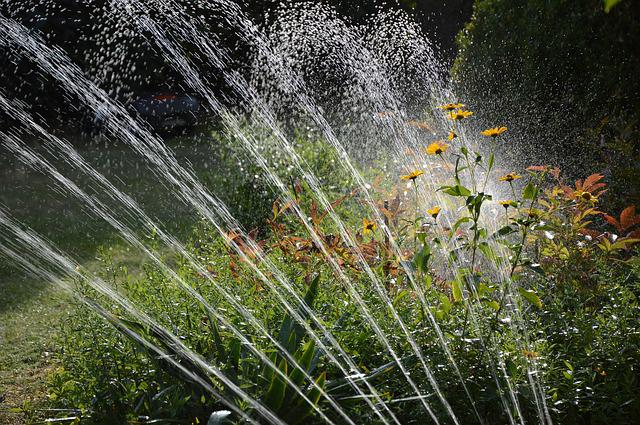
how to adjust hunter sprinkler heads? To maintain a happy and healthy lawn, you can modify the sprinklers’ spray. Sprinklers make it easy to keep a lush lawn and water a garden. They only function, though, if they adequately water your property. We’ll walk you through the simplest Hunter sprinkler adjustments, including changing the radius, arc, precipitation rate, and nozzles.
Table of Contents
Why Should You Change Your Sprinkler Heads?
You may need to adjust your sprinkler heads for a number of reasons.
Sprinkler heads most frequently become out of alignment because they were buried or blocked during the off-season. We’ve written a separate guide to assist you with finding these buried sprinkler heads, though sometimes it can be a hassle.
It’s possible that you need to increase the arc or radius if your plants aren’t receiving enough water. Alternately, if your lawn is getting too much water, you might need to reduce the radius to make sure no sprinkler heads are overlapping and overwatering a particular area.
Altering the flow rate or pattern and compensating for wind or other weather conditions are two additional reasons to adjust sprinkler heads.
Regardless of the cause, it’s crucial to understand how to adjust your Hunter sprinkler heads.
How Do I Change The Sprinkler Head’s Spray Angle?
You might need to learn how to adjust a spray head for a variety of factors. This will most frequently happen if the heads are spraying onto sidewalks or walkways or if your lawn isn’t getting enough coverage.
Fortunately, most of the time, adjusting a spray head is fairly easy. Most spray nozzles have a small screw that can be turned to change the angle of the head. To get the desired results, you must either tighten or loosen this adjustment screw using a small screwdriver. In general, you can turn the screw counterclockwise to lower the water pressure if you’re experiencing an issue with over-spraying. The results of a clockwise turn are the exact opposite.
Additionally, you can turn the screw to change the spray’s direction on your lawn, ensuring uniform water coverage all year long.

How Do You Change The Hunter Rotor Head?
To change your spray’s direction and increase or decrease your arc, you’ll need a Hunter adjustment key. You can buy a key here if you require one.
The adjustment socket, which can be found on the top of each sprinkler head, is where you should place the plastic key if you want to extend the arc of your Hunter rotor head. 360 degrees of clockwise rotation should be made with the adjustment wrench. Every time you turn the wrench a full circle, this will increase your arc by 90 degrees. This can be done up to a full 360-degree arc, after which you won’t be able to turn the wrench and hear a ratcheting sound.
Turn the adjustment wrench in the opposite direction to reduce the arc. When you do this, the arc will be reduced by 90 degrees each time until it reaches the minimum arc of 40 or 50 degrees (depending on your particular model). When you want to stop water from sprinkling on your property’s sidewalks and walkways, this may be necessary to do.
I highly suggest watching the video below that Hunter made on rotor adjustment.
Sedimentation Rate And Nozzle
How much water your sprinkler will spray depends on the rate of precipitation. You need to switch to a different size nozzle to alter the rate of precipitation.
The pull-up socket should accept the hunter wrench key’s key end. This pull-up socket has a wire running through it, making it resemble Saturn. Lift the internal components by turning the key 90 degrees.
Without your Hunter wrench key, you cannot replace the nozzle.
The radius reduction screw should be counterclockwise-rotated after the hexagon rod has been inserted. On your hunter’s wrench key, the slender square metal bar is the hexagonal bar. The hole on the sprinkler’s arrow is the radius reduction screw. To reveal the nozzle, turn the lever counterclockwise.
You can proceed to the next step if the toolbar hasn’t been moved.
The nozzle is underneath the arrow because the arrow points to the location of the nozzle.
Push the nozzle out while the water is running. If the hex bar hasn’t been removed. Nothing will obstruct the water’s force, so it will blow the nozzle out. Before installing a new nozzle, turn off the water.
If you would like to remove the nozzle by hand, you can clamp the nozzle’s edge with pointed-nose pliers and pull it outward. Remember that the sprinkler cap’s nozzle is located beneath the arrow.
Keep the nozzle if it is undamaged so you can reuse it later.
Install a larger nozzle to achieve higher precipitation. Use a bigger nozzle if the soil is dry. Put your new nozzle in the opening beneath the sprinkler arrow with care. To enable you to tighten the nozzle range screws, reinstall the hex rod.
Reduce the nozzle size to lessen the precipitation. Use a smaller nozzle if the soil is too wet. Incorporate the replacement nozzle into the opening marked by the arrow on the nozzle cap. Then, using a hexagonal rod, tighten the nozzle range screw.
Helpful Tips To Remember
● When purchasing a Hunter sprinkler head, a hex key is typically included in the shipment. Hunter offers extra hex keys for sale on their website in case you lose yours.
● It is essential to gently turn the head or cap when adjusting. Over-tightening can damage the internal mechanism and cause problems later. After making your adjustments, it’s crucial to check for any loose parts.
Conclusion
So, how to adjust hunter sprinkler heads?
Sprinkler heads can be adjusted in a few straightforward steps. You can change the arc, radius, and precipitation rate to suit your needs.
You can maintain a healthy, lush lawn all season long by keeping these suggestions in mind.


